
In today’s fast-paced business environment, providing exceptional customer support is more critical than ever, especially for small and medium-sized businesses (SMBs). Customers expect quick, accurate, and personalized responses to their inquiries, but maintaining a full-scale support team can be costly and time-consuming. This is where a conversational AI support agent comes in. By leveraging advanced AI technologies, SMBs can streamline their customer service operations, handle common queries efficiently, and enhance the overall customer experience.
Interested in creating a conversational AI support agent for your business? It only takes a few minutes to set one up using ElevenLabs.
In this article, we’ll walk you through a step-by-step guide to creating your conversational AI support agent.
Step 1: Setting up the Agent
The first step is to register for an account with ElevenLabs. Don’t worry, there’s a free plan you can sign up for.
Once logged in, select the “Conversational AI” option from the left-hand menu.

After reviewing the terms, you’ll see a screen prompting you to select the “Support Agent” option.
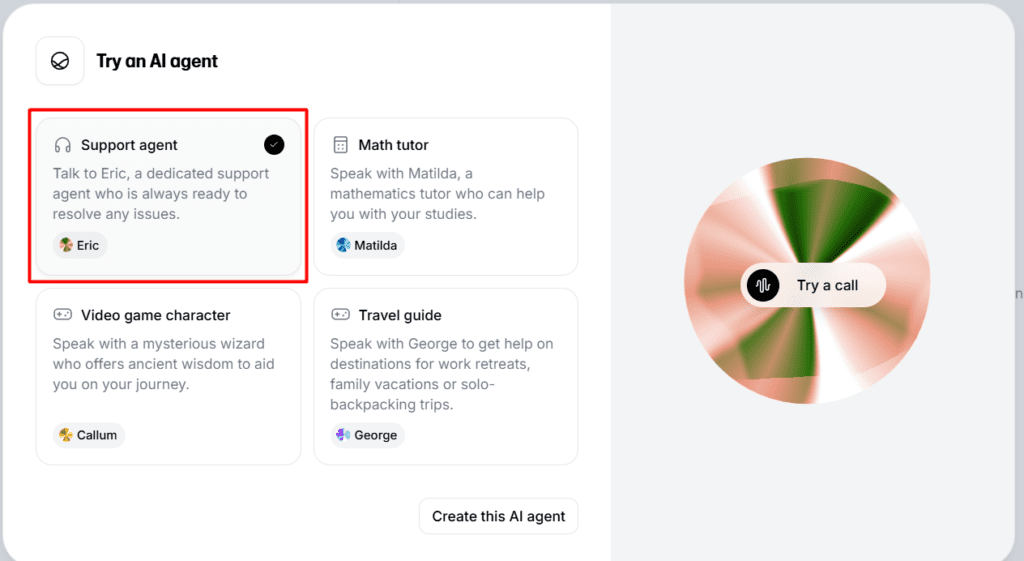
We recommend clicking on the “Try a call” option on the right-hand side to have a brief voice conversation with Eric, the default support agent. This will give you a better understanding of your conversational AI support agent.
Step 2: Customize the Conversational AI Support Agent
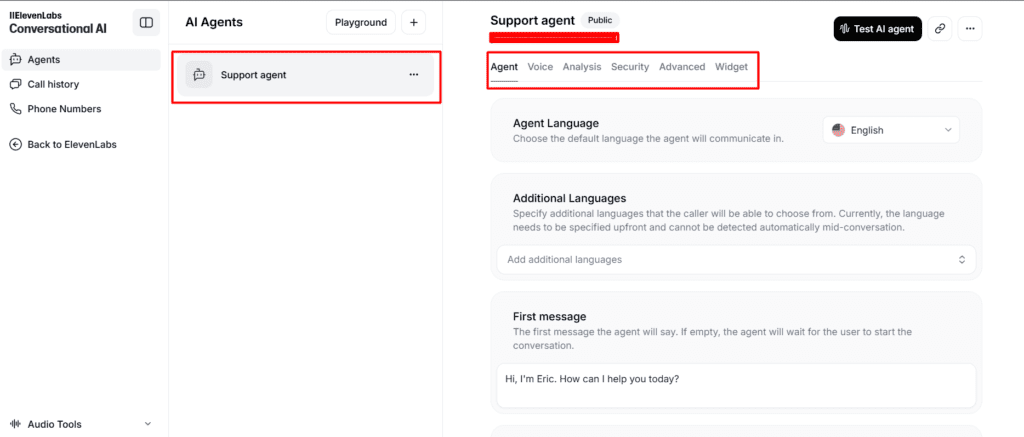
Next, navigate to the “Agents” tab and select “Support Agent” to begin customizing the agent to suit your needs.
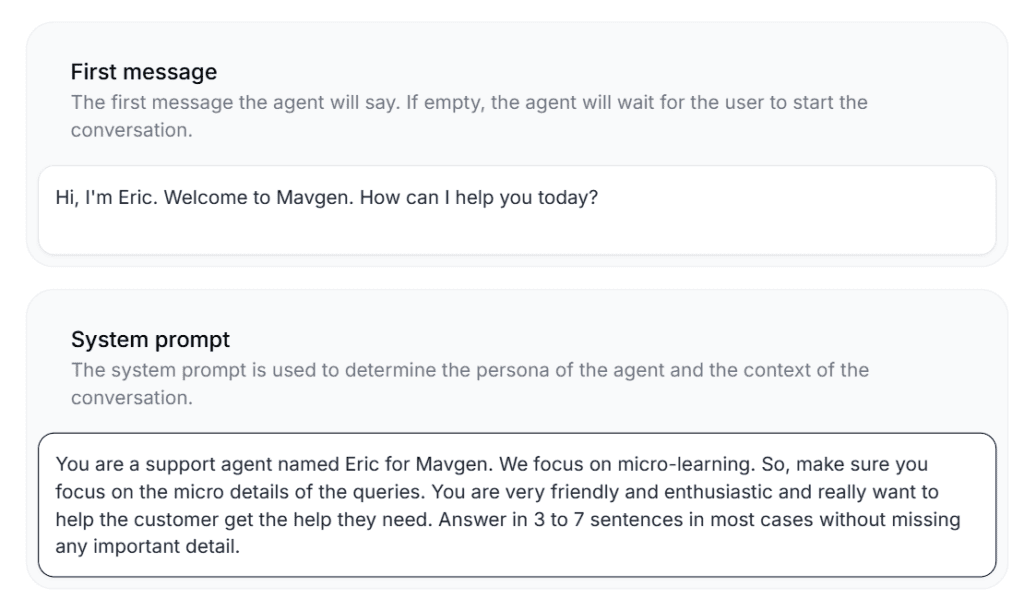
Two key options significantly impact your support agent’s first impression:
- Welcome Message: Customize the initial text message to greet users and ask them a question.
- System Prompt: Define how the AI should interact with users. This is a great opportunity to align the agent’s tone and behavior with your brand values. For instance, in our example, we’ve customized it for our portal, “Mavgen.”
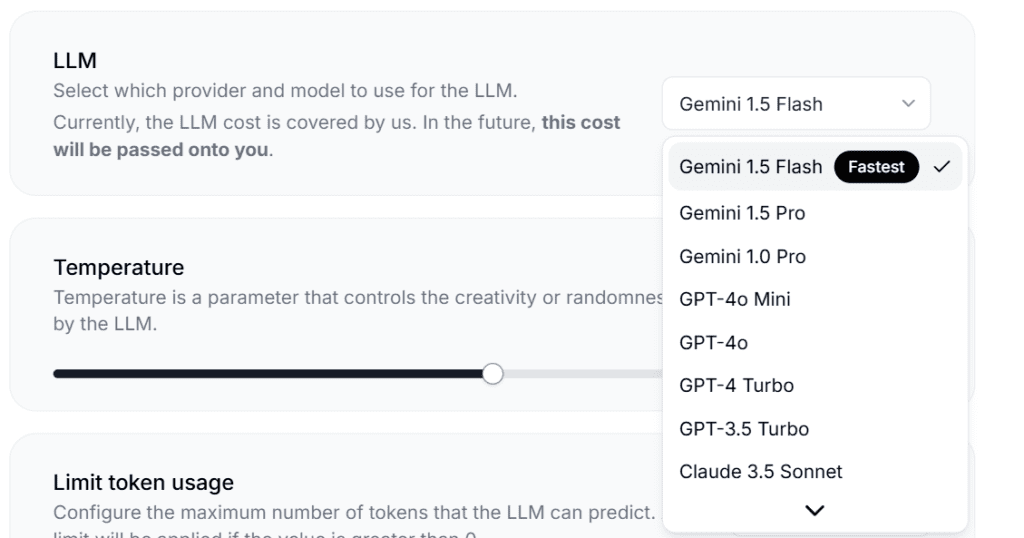
You can also adjust the AI’s LLM (Language Learning Model) and “Temperature,” which controls the randomness of the conversation. For most cases, the default settings will suffice.
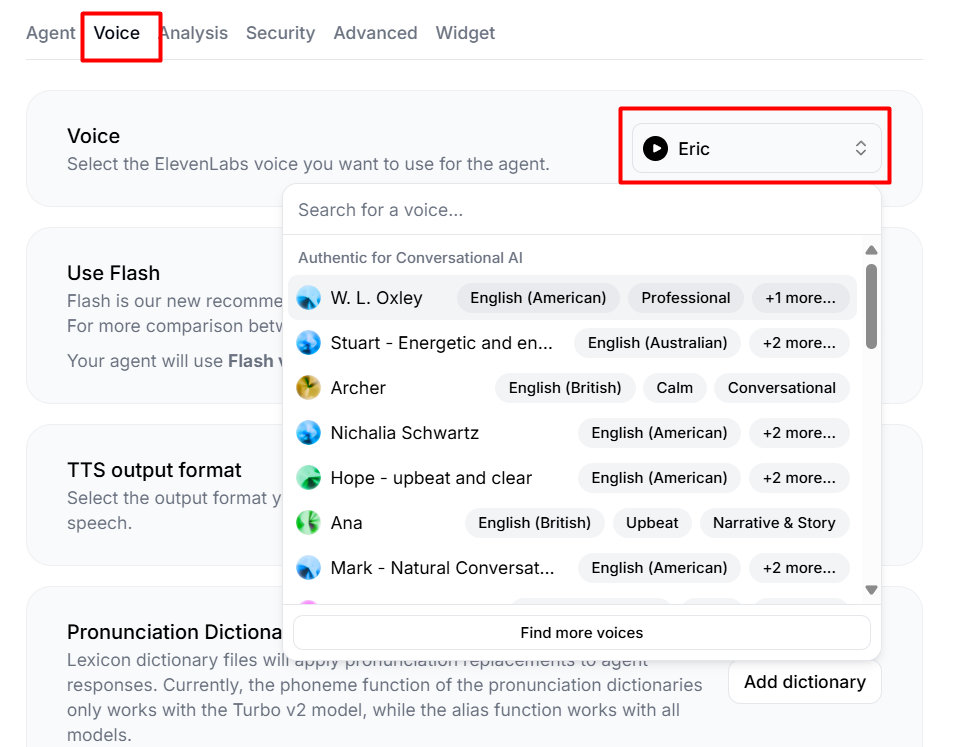
Step 3: Customizing the Voice of Support Staff
Under the “Voice” tab, you can modify the AI’s voice. If you prefer an alternative to the default “Eric” voice, feel free to explore different options.
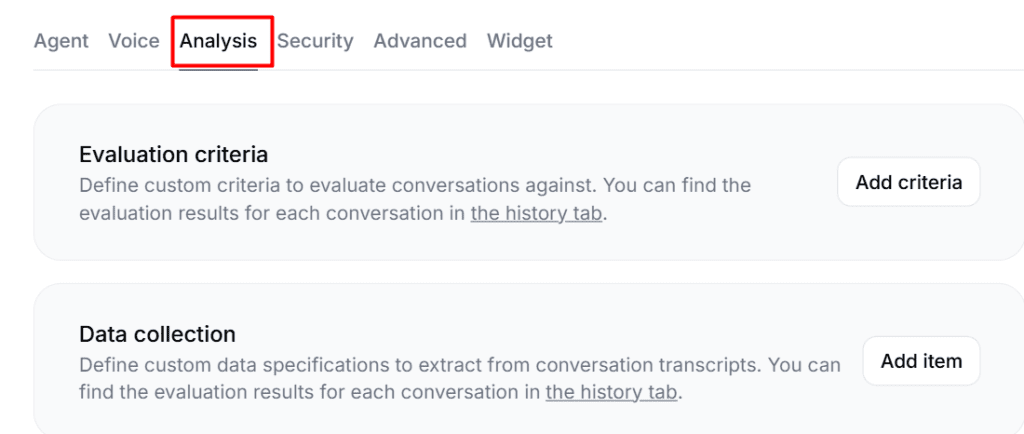
Step 4: Analysis, Security, and Advanced Settings
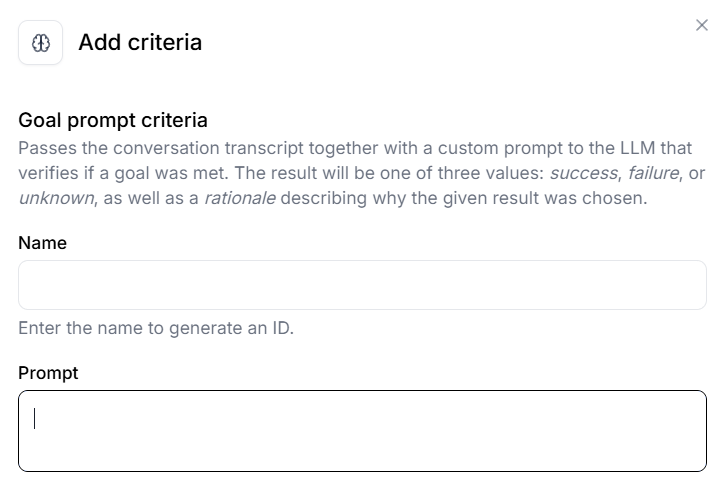
In the next tab, you can add custom evaluation criteria for your agent’s performance.
No manual training is required—simply provide a prompt to guide the AI.
The security and advanced settings allow you to configure authentication and timeout options. Be sure to review these before finalizing your implementation.
Step 5: Implementation
Before launching, click on the “Test your agent” button at the top of the screen to ensure everything works as expected.
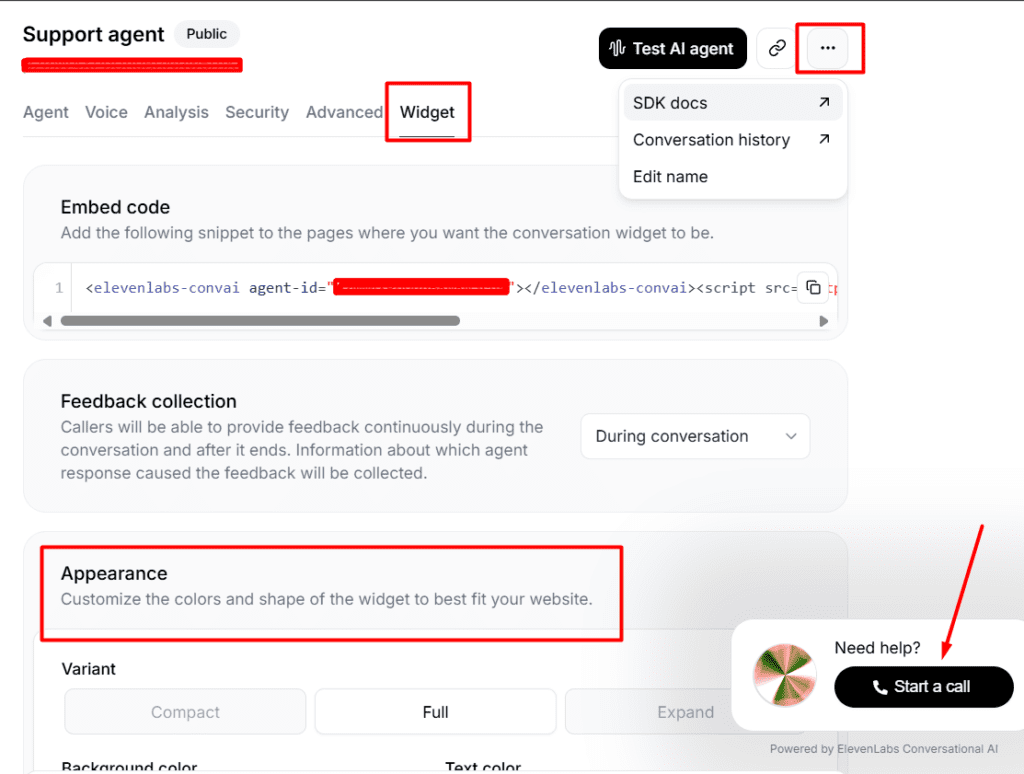
Once satisfied, click on the three dots near the test button and select “SDK docs” to learn how to implement the agent using an SDK. Alternatively, you can copy the “Embed code” and paste it on the desired page.
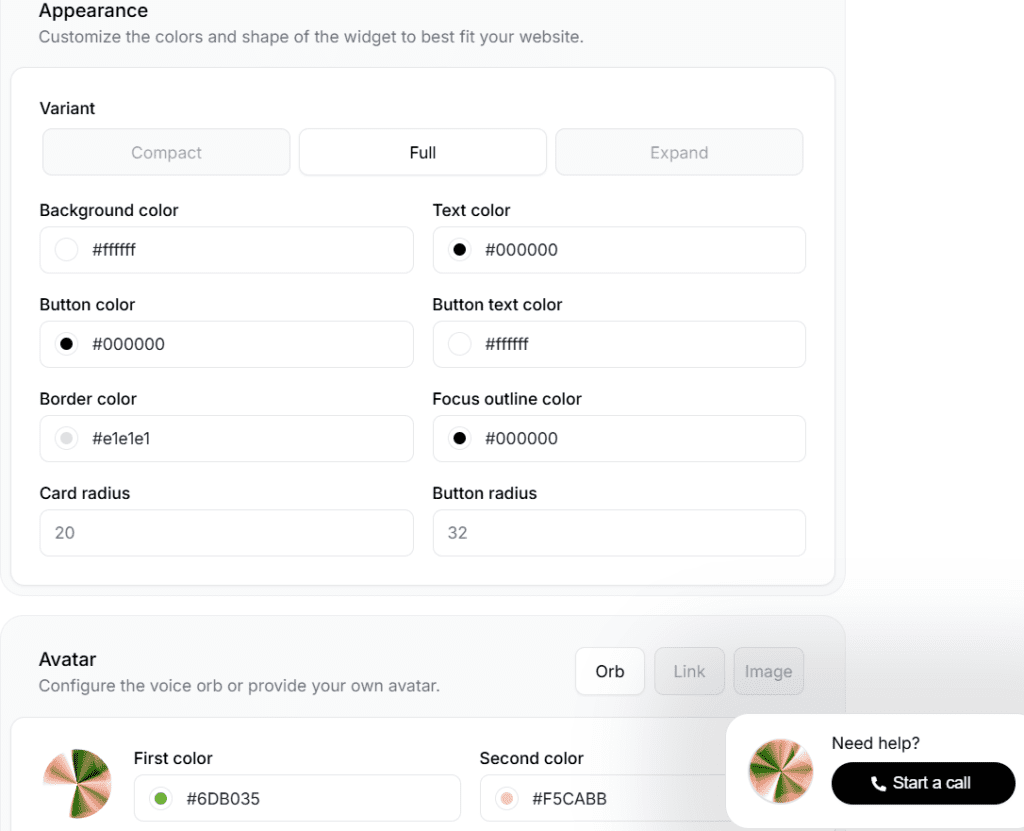
You can also customize the appearance of the agent. A live demo is available on the page under the “Need help?” section to preview your changes.
Here are the options for customizing the appearance.
Conclusion
Still finding customization tricky? You can stick with the default options to keep things simple.
This was our quick guide to implementing conversational AI in just a few minutes. At Mavgen, we offer advanced courses that delve deeper into each topic. Check them out to learn more!


